

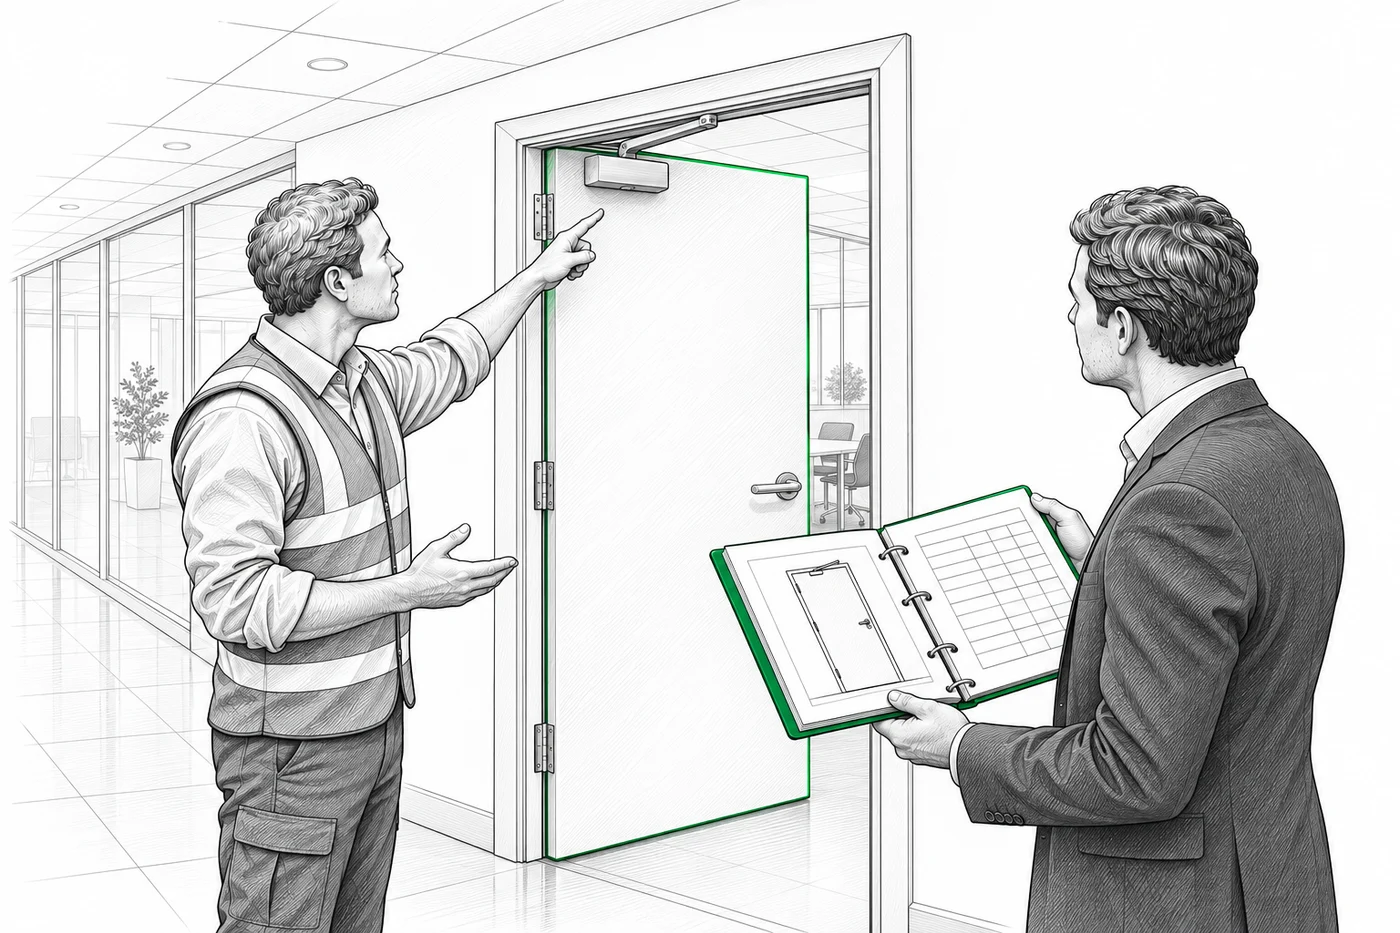
Check what your client needs
Start with these six documents. Confirm the client’s list before ordering. This guide covers timber fire doors in offices in England; the requirements depend on the building, product and work.
- 01 / Before work
Door schedule
A list of each door, its location and required fire and smoke rating.
From the project specification
- 02 / Before work
Product certification
Certification covering the door and components being supplied.
From the manufacturer or supplier
- 03 / Before work
Fitting instructions
The manufacturer’s instructions for the exact product.
From the manufacturer
- 04 / Before work
Site-specific RAMS
How the doors will be moved, removed and fitted on this site.
Prepared by your team
- 05 / During work / handover
Installation record
A record of what was fitted and checked for each door.
Completed during installation
- 06 / At handover
Maintenance guide
Instructions for keeping the door and its hardware working.
From the product suppliers
Check the certificate matches the door
Product certification covers the specified product. Your installation record shows what you fitted and checked. You need to keep the two linked.
- Match the product. For a third-party certified door, use the label or plug code to trace its certification. Ask the manufacturer or supplier if identification is missing or unclear.
- Check the contract. If the client requires an installer certification scheme, confirm which one before quoting. This is a third-party scheme that assesses installers and may issue certificates for work within its scope.
Check what you are ordering
Are you replacing only the door leaf — the moving panel — or the complete doorset, including its frame and hardware?
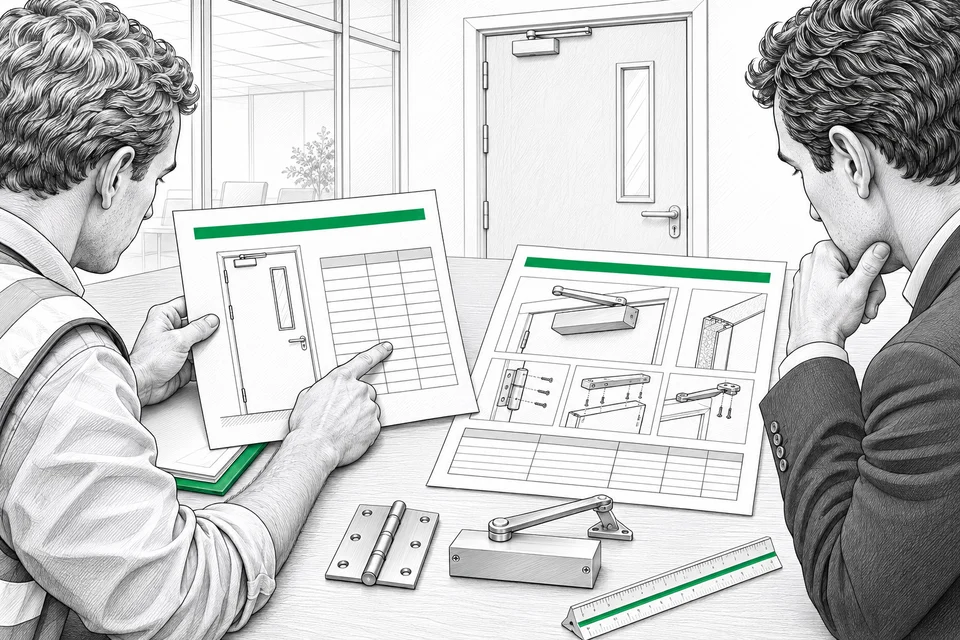
01Door and components
Confirm the required rating from the agreed door schedule and fire-safety design. Check that the certification allows the proposed frame, seals, glazing, hinges and other hardware. Get written confirmation from the manufacturer or relevant technical specialist before changing components or keeping an existing frame.
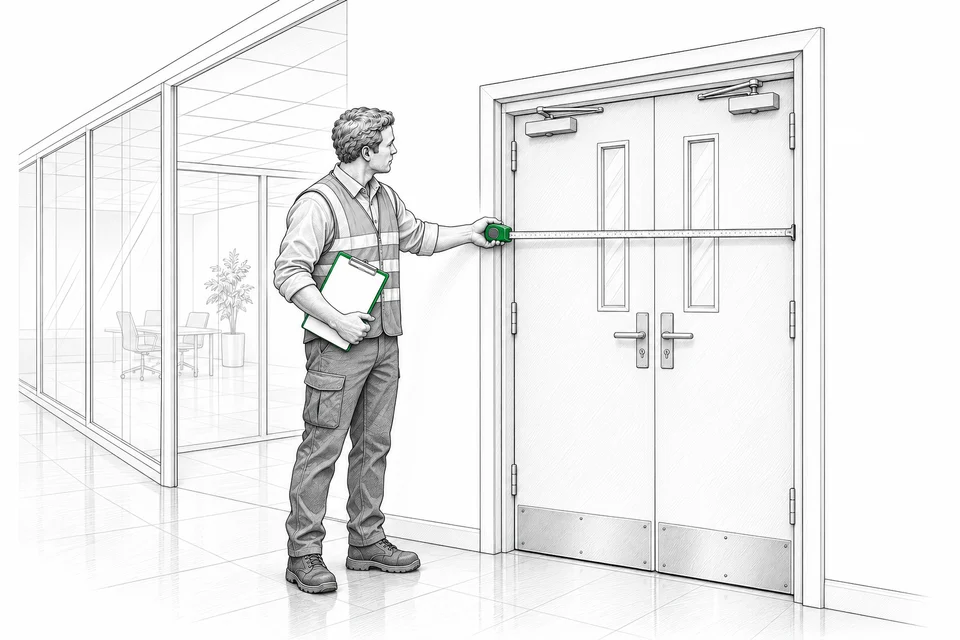
02Existing opening
Check the opening, wall construction and frame condition. Get asbestos and service information before disturbing the building. Resolve survey gaps and agree any extra work before ordering.
Use the fitting instructions that match the product certification. Do not assume one door’s permitted gaps, fixings or hardware apply to another.
Make your RAMS specific to the job
Describe the work and the controls for the actual site. Cover these four areas.
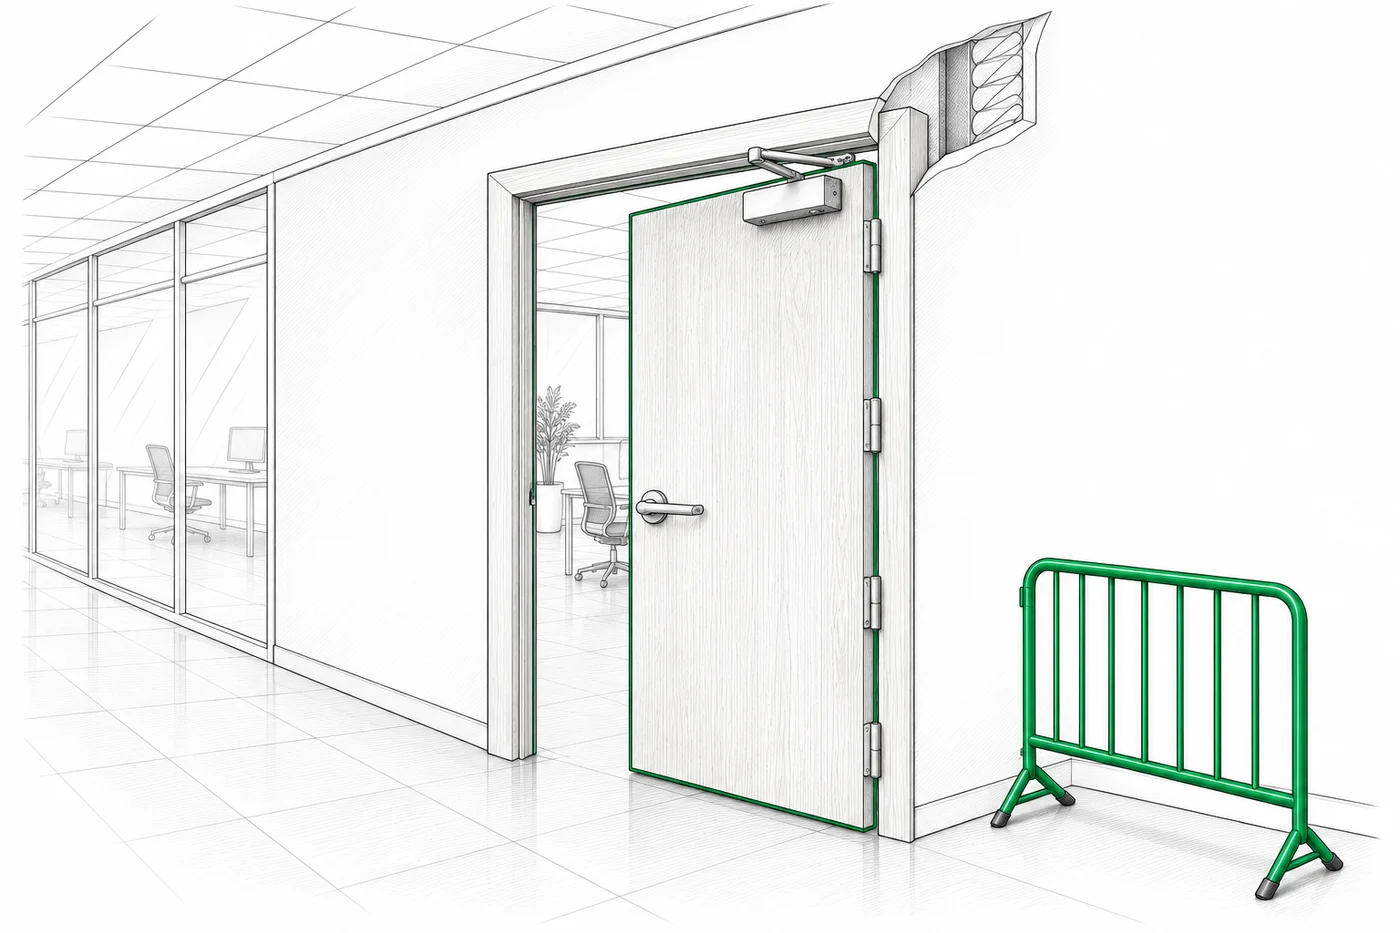
- Moving doors
- Record how heavy leaves and frames will be delivered, handled, supported and removed.
- Fire protection
- Agree the work sequence and temporary fire precautions with the site team. Keep escape routes available and protected while doors are being replaced.
- Tools and dust
- Cover cutting, drilling, dust control and the survey information used before disturbing walls or frames.
- Work sequence
- Set out the fitting steps and any client inspections needed before work continues.
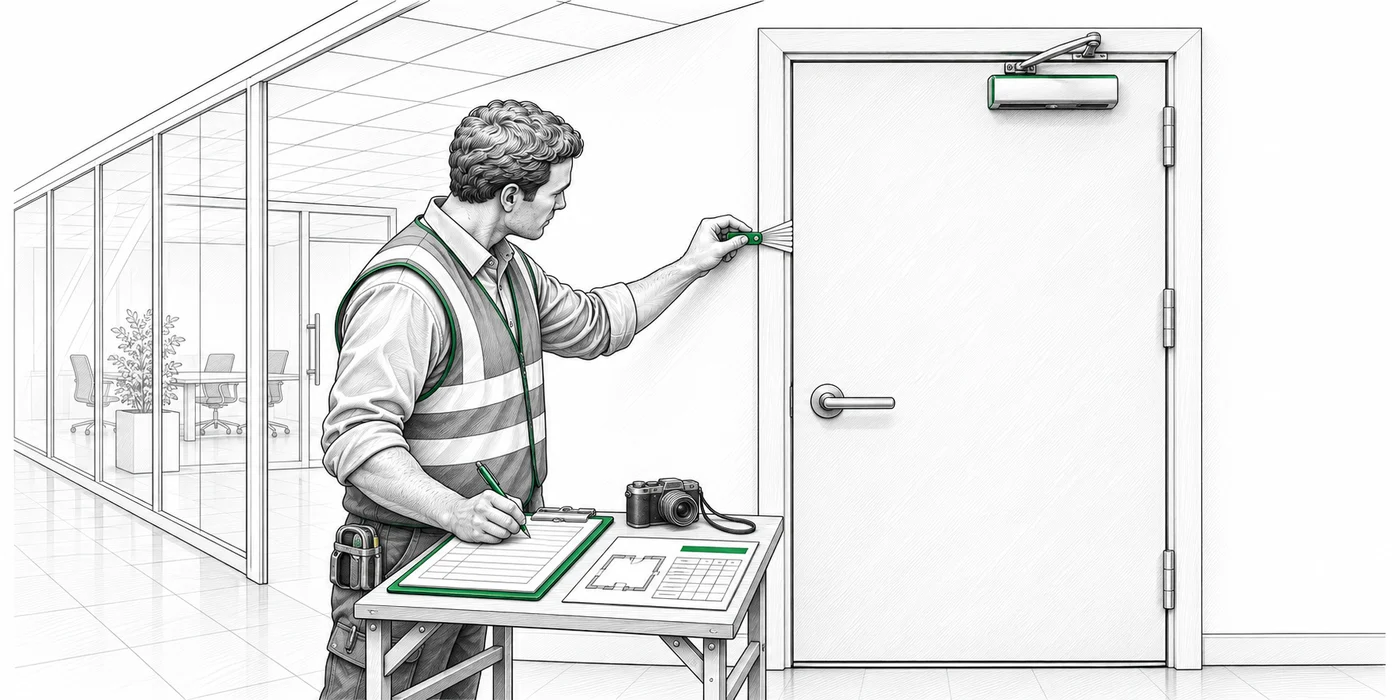
Keep a record for every door
Use the same door ID on the schedule, photos and check sheet. Add the location, date and installer’s details.
Example layout · not a completed inspection
Door installation record
- Door ID
- D07
- Location
- Ground-floor meeting room
- Installer
- ________________
- Date
- ________________
- Product reference
- Manufacturer, model, label or plug code and certificate reference: ______
- Before covering up
- Photo references and details of frame fixings and the fire-resisting seal between the frame and wall: ______
- Measured gaps
- Head: ___ mm · Hinge side: ___ mm · Closing side: ___ mm · Threshold: ___ mm. Record the permitted limits from the fitting instructions alongside your readings.
- Closing and hardware
- Findings for the closer, latch where fitted, hinges, seals and any glazing: ______
- Changes and defects
- Approved changes, work still needed, who will fix it and target dates: ______
Documents to give your client
Use this as a handover list. Confirm the agreed items are included and clearly matched to the doors installed.
Fire-door installation
Handover checklist
Before work starts, ask the project team whether Building Regulations approval and a Regulation 38 fire-safety handover are needed. If they are, agree which door records to include and when to supply them. Give the final documents to the client and the person responsible for the building’s fire safety, and keep a copy.
RAMSCloud helps you prepare RAMS. Arrange product certification and any required installation certificate separately.
Explore the RAMS builder →Sources
Read the full guidance for more detail.
- BWF Fire Door Alliance: Product certification and identification
- JELD-WEN: Matching fitting instructions to the fire certification
- GOV.UK: Fire safety risk assessment for offices and shops
- HSE: Fire precautions during construction work
- HSE: Asbestos information for contractors
- GOV.UK: Approved Document B, including fire doorsets and fire safety information